The printers are broken down into numerous sections, enabling you to configure settings for each printer that is connected to each individual terminal.
Printers can be configured through Network Printers to allocate which printer goes where, or they can be configured one at a time using the POS Terminals settings.
Click on one of the following links to skip to a particular section:
Receipt Printer – Used for Dry Cleaning, Receipts, Bill Prints, Bar Tabs, Customer Accounts, Transfer/Waste/Void Modes, Flash Reports and EFTPOS receipts.
Idealpos 10 supports the following printer drivers:
Each printer has the ability to perform a test print.
If the printer is configured using Network Printers and is unable to print, it will display an error on screen.
If the print in unable to be printed when printing to a Direct COM Port or Windows Shared Network Printer, the print job will hold Idealpos open (Freeze) while it continues to try to print the job.
Depending on the settings this may take anywhere from 10 seconds to 1 minute to error, or not print.
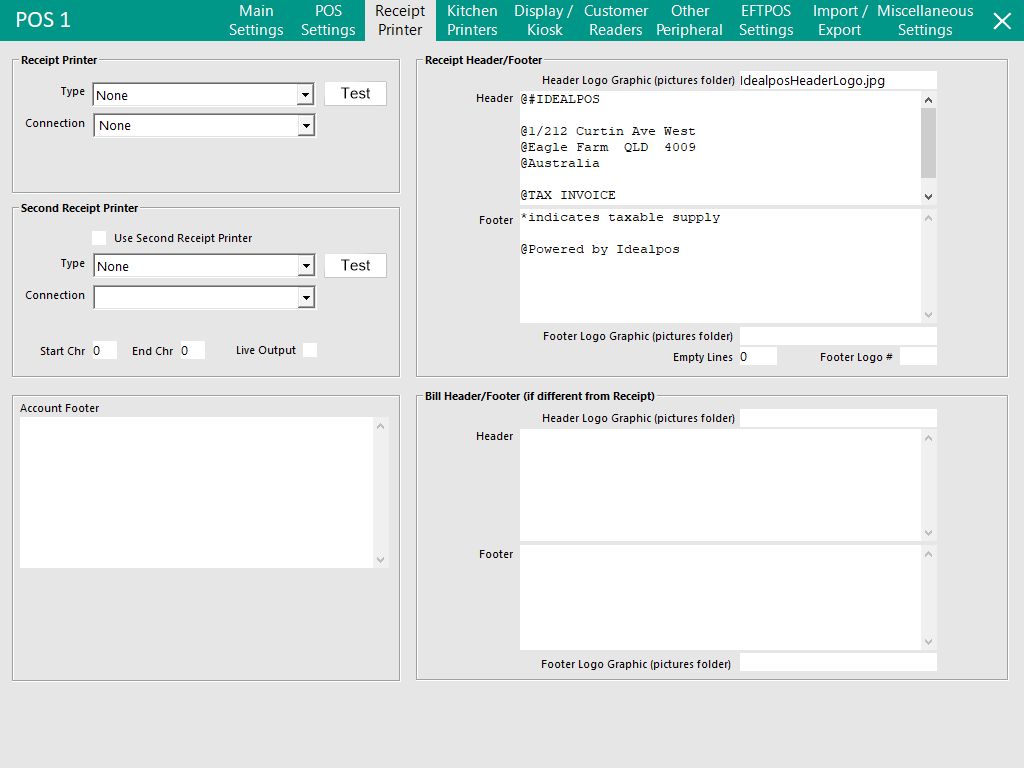
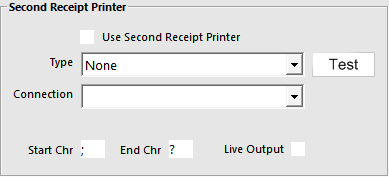
Two printers can be configured from this window, with only one working at any one time.
These are the Receipt Printer and the Second Receipt Printer.
The Receipt Printer is used by default and for all printing jobs.
The Second Receipt Printer is used for Text-over-video Security Overlay and Dry Cleaning features.
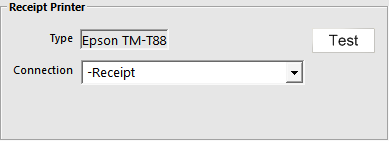
Receipt Printers that have been configured through Network Printers will be inhibited from editing the type that will be used.
These will also set the connection as the Printer Name used in Network Printers.
Information on configuring printers for use through Network Printing can be found in the Network Printers topic.
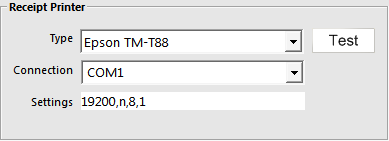
Printers can also be connected directly to a LPT or COM port, but this will not benefit from Network Printers backup support.
Connecting printers direct to the port require you to set the Baud Rates on each printer.
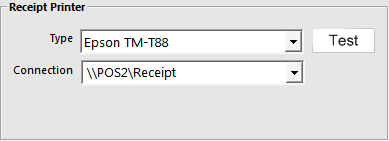
A printer can also be connected to an installed Windows Shared Printer.
You will need to enter the connection path to the installed printer.
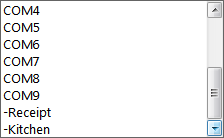
Once a printer has been added and configured for use in Network Printers, you will be able to find it in the list of Connections.
These can be set up the same way, but it will depend on the requirements of the security software.
Generally they are setup as an Ethernet printer in Network Printers, as the security software will accept incoming text printing from an IP address.
Certain software products may also require the use of Start & End characters to keep the text overlay in the correct format.
Live Output will send the text to the printer as it is entered into the POS Screen, giving the security software correct text, as opposed to sending the details at the end of the sale.
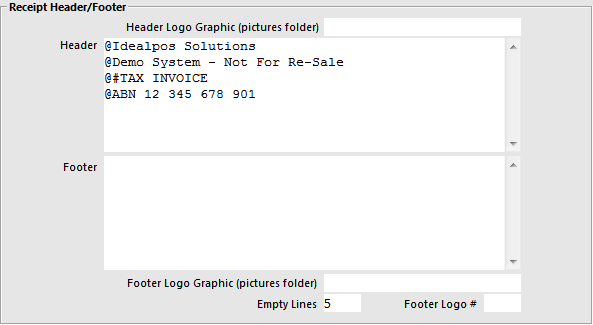
Setting the Headers and Footers and additional details is configured on the right side of the Receipt tab.
There are ways to make the font Bold and Centre.
There is no limit to the amount of text that can be entered.
Note!
If the Trading Name and Business ID (i.e. the ABN) have not been entered into either the Header or Footer fields (or the details entered into these fields do not match the details that are stored in the Licence Gateway), Idealpos will automatically print the Trading Name and Business ID at the bottom of the receipt (using the details from the Idealpos Licence).
When entering the Trading Name, ensure that the name matches the Trading Name stored in the Licence Gateway.
When entering the Business ID, you are permitted to enter the ID without spaces, or you can enter spaces or hyphens between each set of numbers that make up the Business ID.
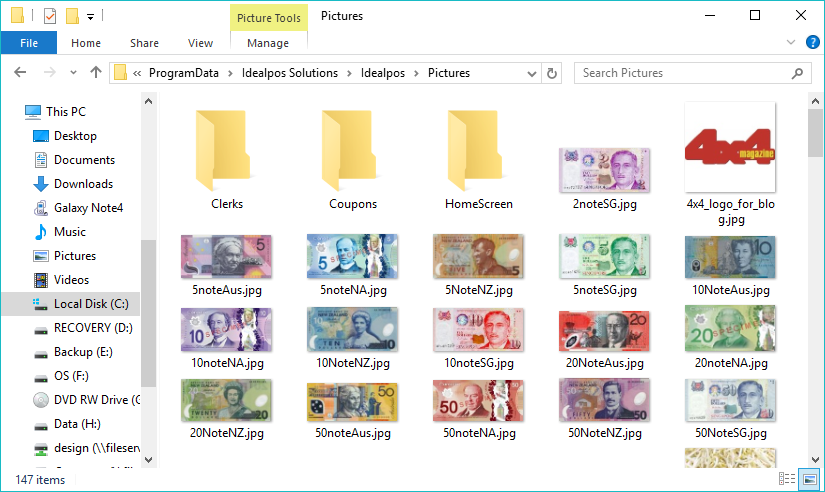
This functionality allows coupons to print logos without having to burn them into the memory of the printer.
The pictures are saved in the pictures folder within Idealpos and are triggered when required.
You may need to select the Yes/No Option > Receipt: Print Graphic Logo at Top of Receipt.
Go to C:\ProgramData\Idealpos Solutions\Idealpos\Pictures > Save all the logos into the Pictures folder within Idealpos.
Go to Setup > POS Terminals > Modify > Receipt Printer > Header/Footer Logo Graphic (pictures folder) > Enter Logo Filename.
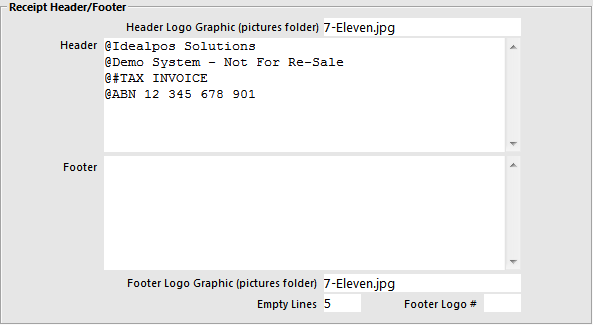
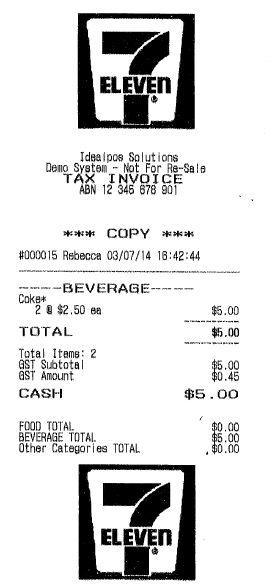
When the receipt prints, it will display a logo in the locations you have selected.
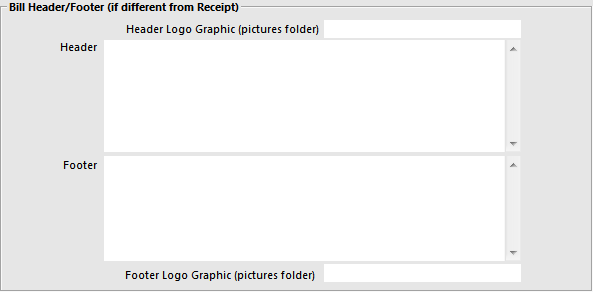
Go to Setup > POS Terminals > Receipt Printer > Bill Header/Footer (if different from receipt)